Create a wattmeter test kit for under $10
With this cheap DIY kit, you can measure actual battery capacity, how much energy you solar panel or wind mill produces or how much energy your appliances are using.
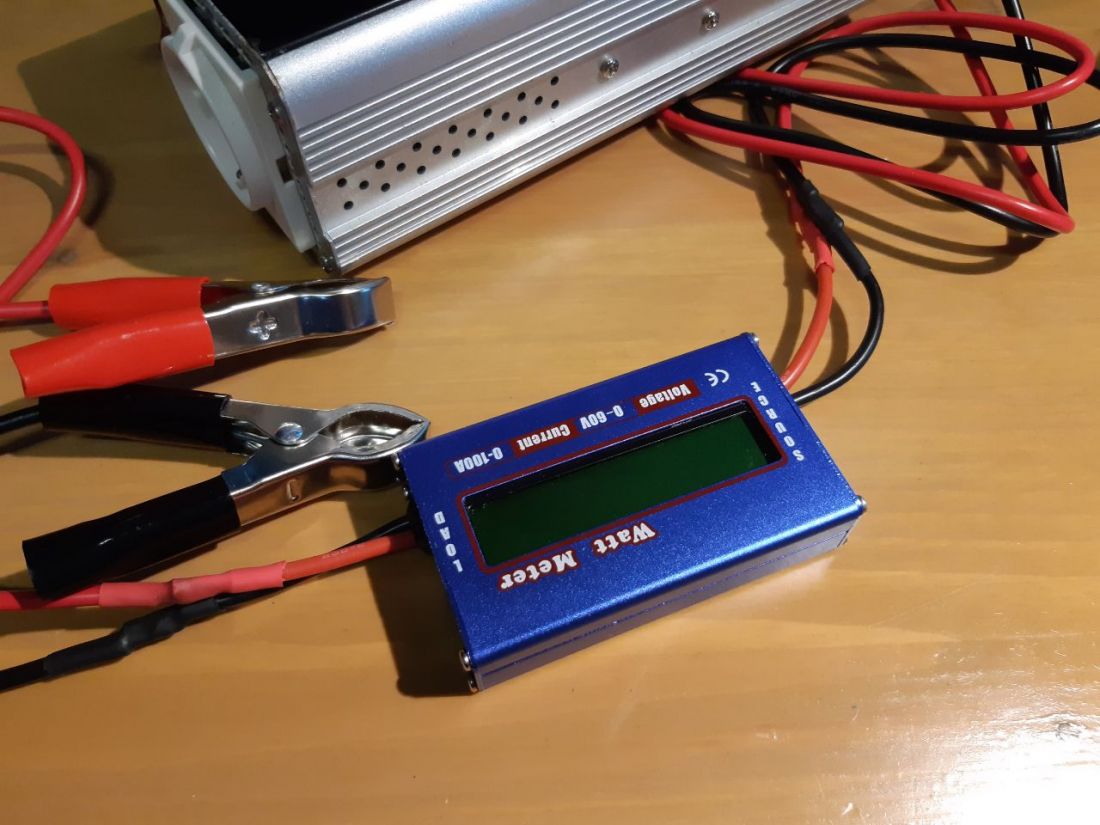
This is what you need:
- A digital wattmeter for around $7 at stores like AliExpress
- Black and red cable and battery clips. You can use those which come with cheap inverters, or you can buy some battery to inverter cables or car battery jump cables with battery clips on both ends. If you use a battery to inverter cable, you will need an extra pair of battery clamps as well.
- A soldering iron and soldering wire
- Heat shrink tubing or electrical insulation tape
Optional:
- Fuse holders, one for each side of the wattmeter. About $1.50 for 5pcs
- Fuses, up to 40A. About $0.70 for 10pcs
What can I do with the test kit?
The wattmeter is actually measuring both watt, voltage, and amps, and it will also measure how much current that has passed through within a session (as long as it is powered with the battery connection on the source side).
By putting a battery on the source side and some kind of load on the load side (like a DC motor or a light bulb), you can figure out if a chargeable battery actually holds the amount of energy it is supposed to.
It is also great to put between a solar panel and the solar charge controller to monitor the voltage and current flowing from the solar panel and into the charge controller. Connect the solar panel to the wattmeter source and the charge controller to the wattmeter load.
Watt Meter specs
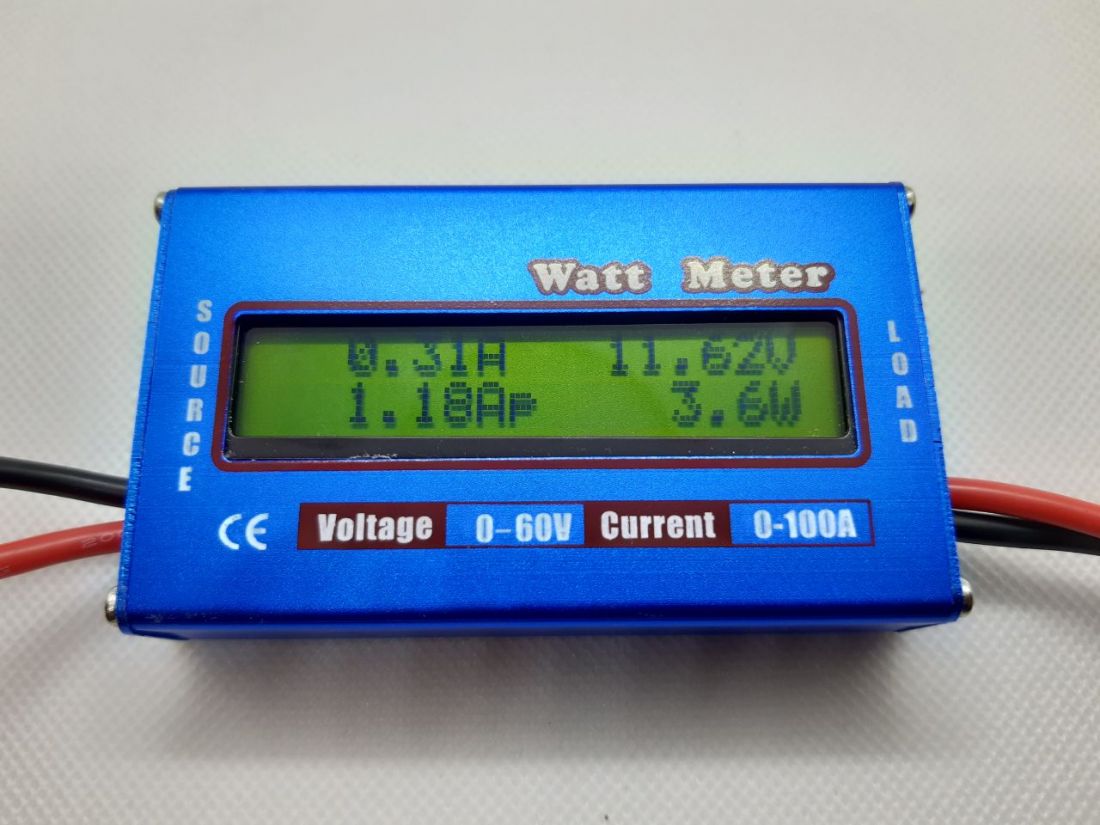
The wattmeter used in this article is a very common one, bought on AliExpress for about $7. This one is branded as Yosoo, but the same wattmeter might be sold under other brands as well.
| Power Supply | DC |
| Rated voltage (max) | 120V |
| Max operating current | 50A - 79A |
| Output voltage (max) | DC 60V/100A |
| Display type | Digital |
| Dimensions (inch) | 3.27inch x 1.85inch x 0.79inch |
| Dimensions (mm) | 84mm x 47mm x 20mm |
| Brand | Yosoo |
| Also known as (other brands) | Leshp, Didihou, Urijk, Junejour, Alloet, Acehe, Adeeing |
Building the wattmeter test kit
The wattmeter has one cable pair for input (source) and one pair for output (load). The red cable is for positive/plus, and the black for negative/minus. The goal is to easily be able to connect different loads and sources for temporary measurements.
#1 Cut the battery charge cable or jump cable in half
Cut both the red and black cable in half so that you have equal cable lengths. If your cables have clamps in both ends, you're good. If the cables only have clamps on one end, you can solder on clamps on the other end as well.
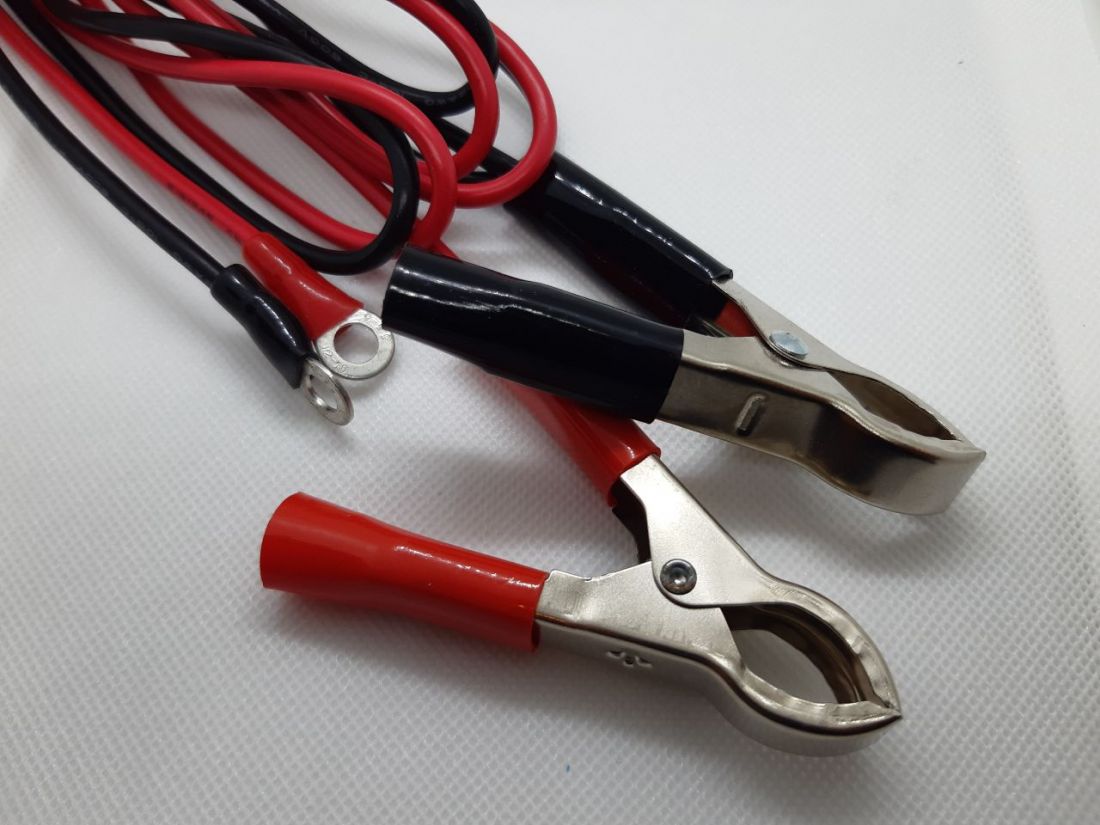 Battery to inverter cables, with clamps only at one end. These can be modified by cutting the end pieces with no clamps, and solder on clamps.
#2 Solder cables to the wattmeter
Solder the cables with the clamps to the wattmeter. Red to red, and black to black. Before you solder them together, remember to thread the heat shrink tubes onto the cables first. They are hard to get on later on.
Very often, the metal in the cables is aluminum, and it can be difficult to solder. Just make sure the metal itself is heated when applying the soldering wire. Use soldering wire with flux.
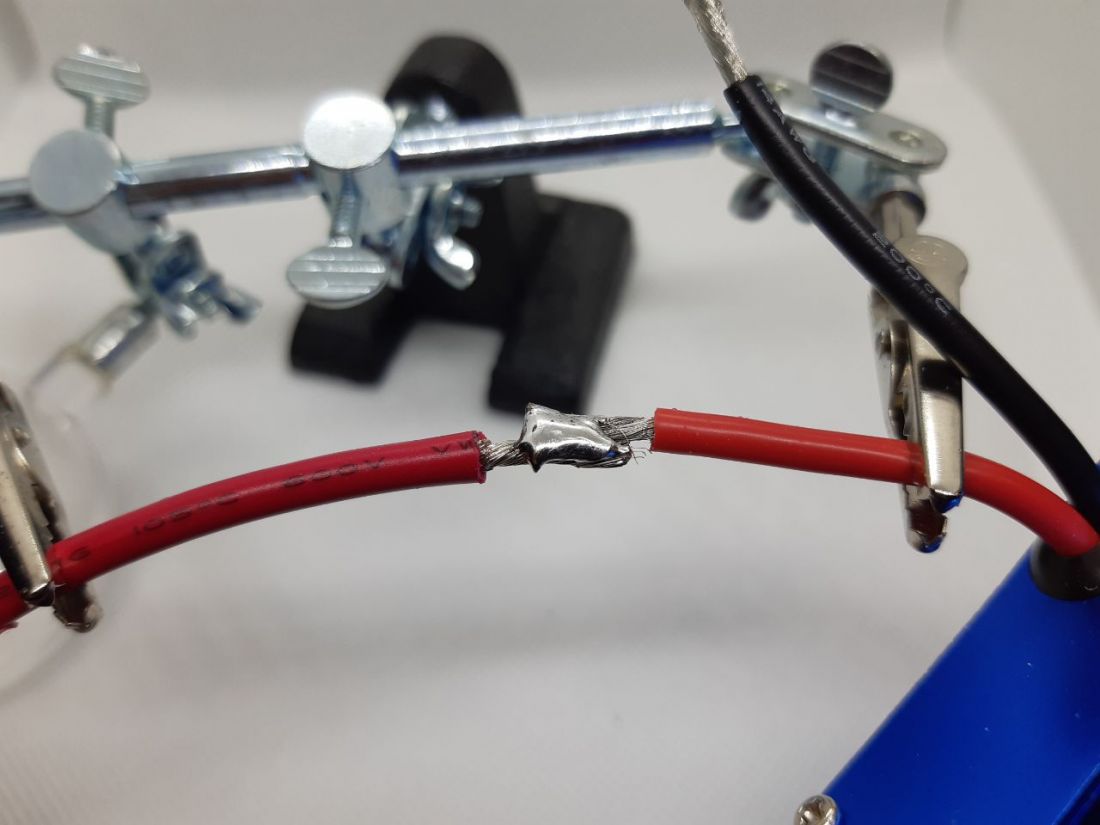
After soldering, thread the heat shrink tube over the metal area. Preferably use a heat gun to shrink the tube. If not, you can use a lighter, but keep as far away as you can and just close enough for the tube to shrink.
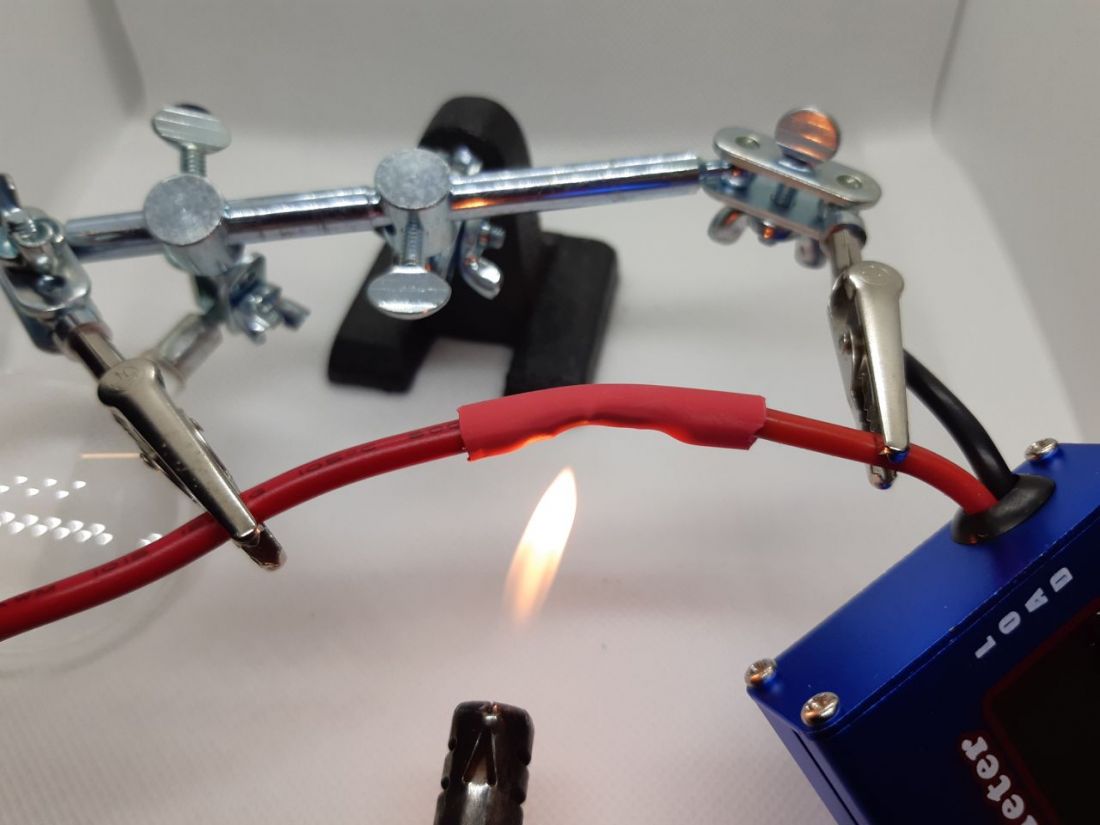
#3 Optionally, add fuses to the positive sides, both before and after the wattmeter
There is always a risk of shorting the source (battery, solar panel, etc.), which can potentially damage it, and in the worst case cause fire and damage other stuff as well. Adding fuses both to the source and load side of the wattmeter should be sufficient to protect both the wattmeter and the equipment connected to it.
Solder the fuse holders to the red cables between the clamp cables and the wattmeter. Remember to thread heat shrink tubes onto the cables before soldering.
The wattmeter can handle up to 79A (operating current), but unless you're about to measure some heavy stuff, adding 40A fuses should be sufficient for most applications. With 40A and 12V, you shouldn't have any issues measuring eg. a 480W solar panel (which will most likely output a much higher voltage than 12V, resulting in a threshold much higher than 480W).
Using the wattmeter test kit
That's it, you're now good to go testing stuff. You can try it out by connecting a 12V device, like a motor or a 12V light bulb (a single LED will draw very little current) to the load side of the wattmeter test kit. Make sure the positive and negative don't touch each other.
Then, connect the source side to the battery. Make sure the red wire clamp is connected to the positive and the black wire clamp to the negative battery pole.
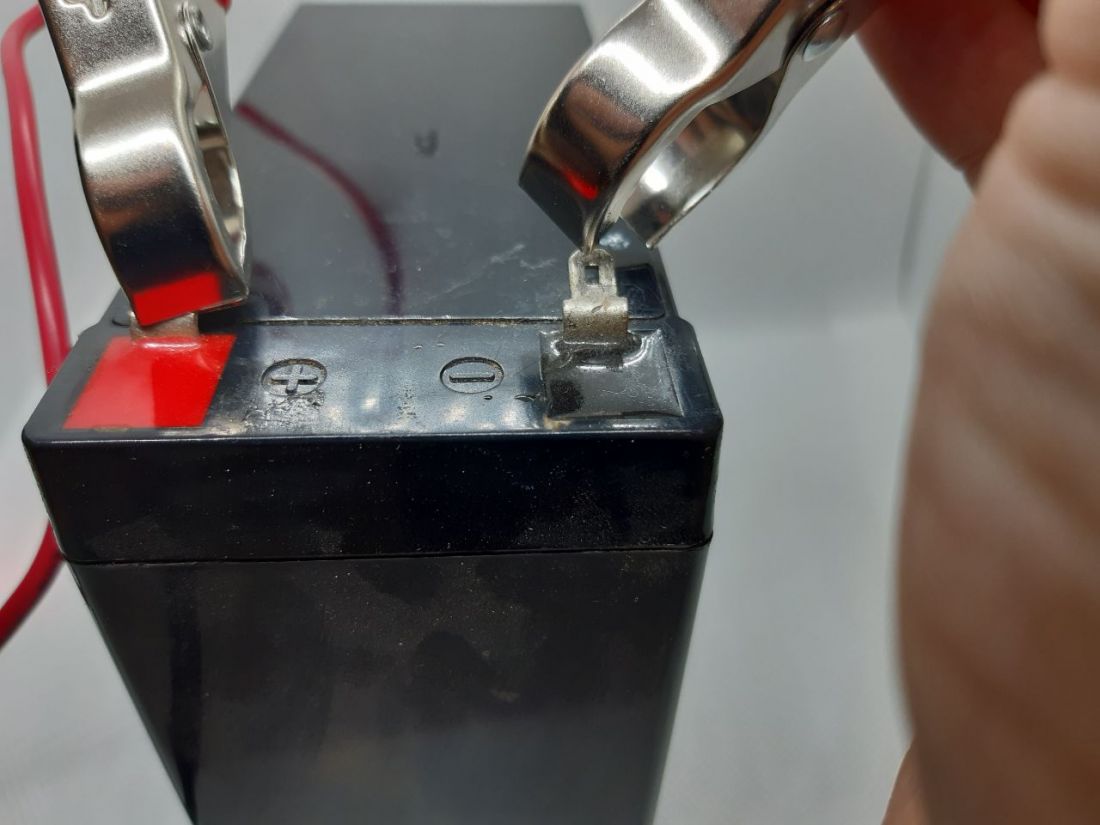
The wattmeter uses about 1 second to start up, but will then show some interesting data.
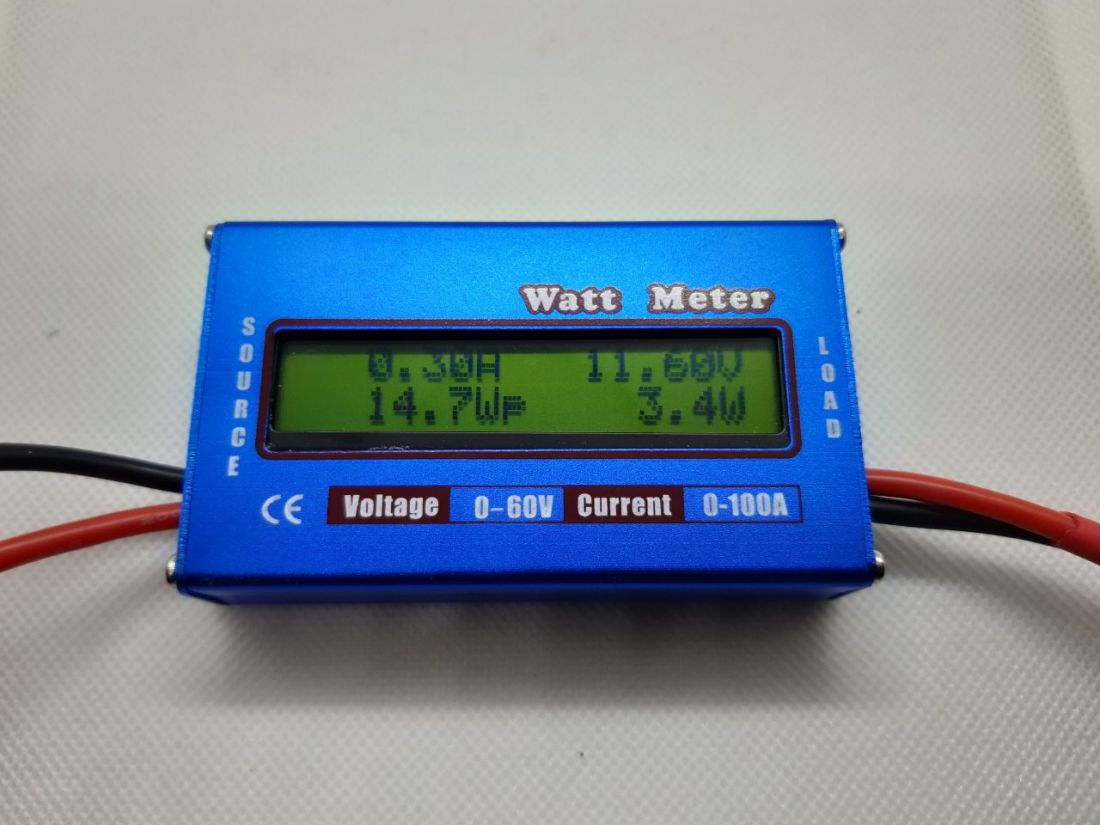
The data is split into four sections:
- Top left: The current (Amps) going through the wattmeter
- Top right: The voltage (V) going through the wattmeter
- Bottom right: The wattage going through the wattmeter
- Bottom left: This section toggles between different information, like the total Ah/Wh throughout the session.
