How to find the best solar panel kit for your RV camper
How do I select the parts for my solar power system that will fit your caravan camper? Here are a few suggestions.
To run the lights only
This is a very small setup that is suitable for not much more than running the LED lighting in your camper. However, it's a cheap setup and easy to get started with. But be aware that you will probably have to change all the equipment if it turns out to be too weak.
| Components |
|
|---|---|
| Charging time | About 6 hours from 50%* in optimal conditions |
| Price | Approximately $100 |
| Suitable for |
|
To top the batteries if off-grid once in a while
It's the same as the previous setup, except that the battery is larger. The battery charge will be slow, but if you only use it for some lighting, water pumps, and some smartphone charging once in a while, you should be fine. If the camper is being unused for a couple of days (at least in the summer), the solar panel should be able to make sure the battery is always fully charged.
| Components |
|
|---|---|
| Charging time | About 25 hours from 50%* in optimal conditions |
| Price | Approximately $150 |
| Suitable for |
|
All-around off-grid kit
The price per watt on solar panels (PV) is dropping each year, and purchasing a 200W module today cost less than what you had to pay for a 100W module just a few years ago. Also, the capacity per size unit has increased, making it possible to get more power from your RV rooftop than before.
In this setup, we have increased the solar panel so that the battery will charge faster. This enables more continuous usage, and you can allow yourself to add an inverter to run more power consuming appliances as well. We have also exchanged the PWM controller with an MPPT controller, which is more efficient.
| Components |
|
|---|---|
| Charging time | About 2-3 hours from 50%* in optimal conditions |
| Price | Approximately $360 |
| Suitable for |
|
| May work for |
|
* A few words about lead-acid batteries
Although lead-acid batteries are less expensive to buy than Lithium-based batteries, they have a major drawback in that only up to 50% of the total capacity can be used. After 50% have been used, the voltage will drop to a point that is too low for most 12V appliances. Also, and more importantly, going below 50% (about 10.8V) could damage the battery and even make it unusable.
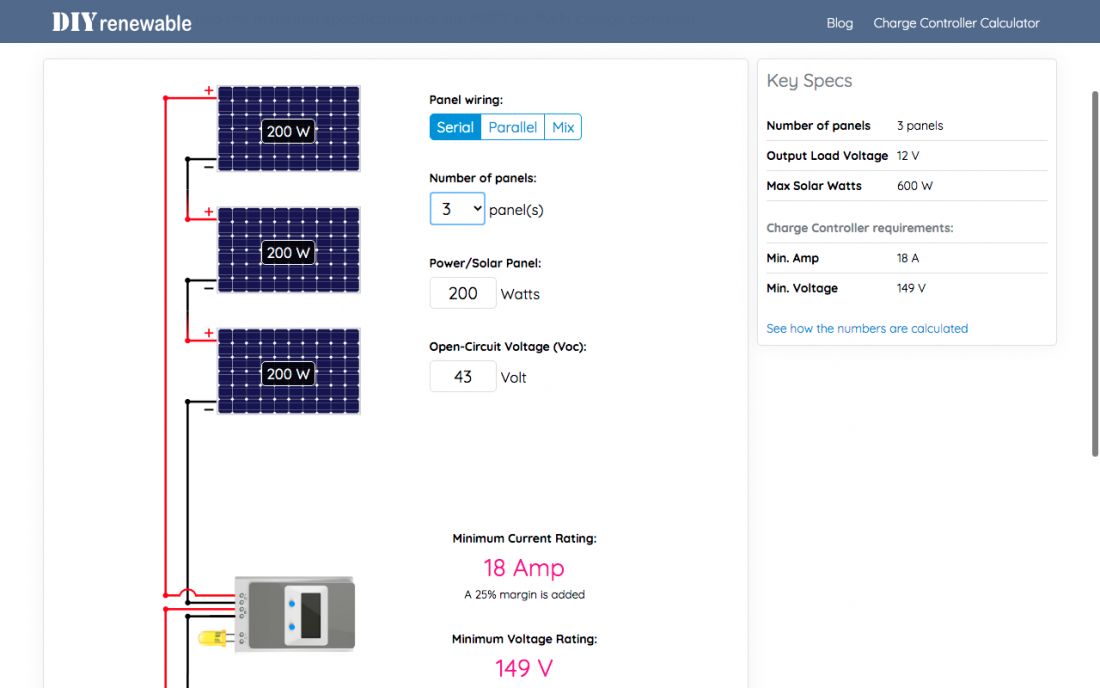
Building your own solar charging system? Use our calculator
Figuring out the best configuration can be challenging, and especially to figure out what the minimum specifications of your charge controller should be. Luckily, you can use our visual charge controller calculator, where you "build" a virtual solar panel setup, to get the minimum solar charge controller requirements right away.

